CARE OF YOUR CANVAS AND POLES

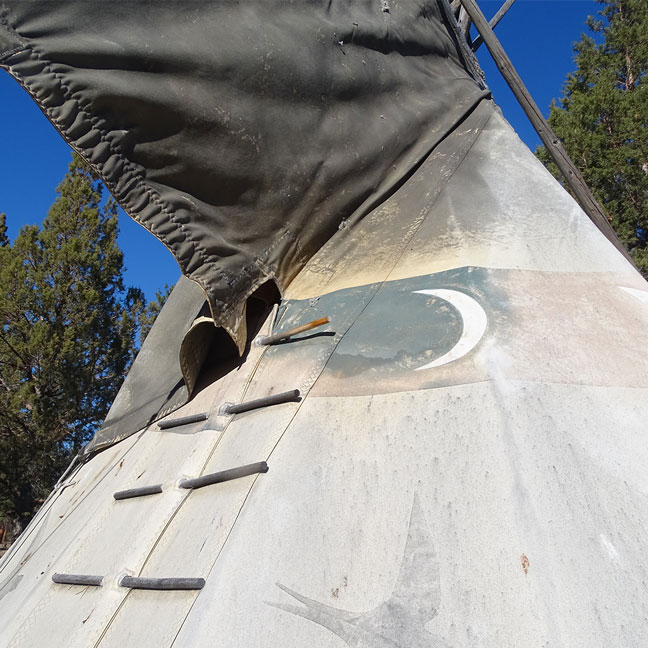
There is a direct relationship between the way you care for your tipi and the years of enjoyment you will get out of it. With good care, you can get five to seven years out of one outer canvas cover. On the contrary, if you set your tipi up on a piece of land, stay in it a few weekends in the fall and then come back to it in the spring, you might find that after one or two years, it looks old and worn. The main factors that contribute to premature aging of your tipi cover are high UV radiation, mold and mildew due to prolonged dampness, heavy snow loads, high winds and salty air.
Environments that can cause premature aging of your tipi cover:
1) High elevation (above 3000 ft) and other areas with high UV radiation
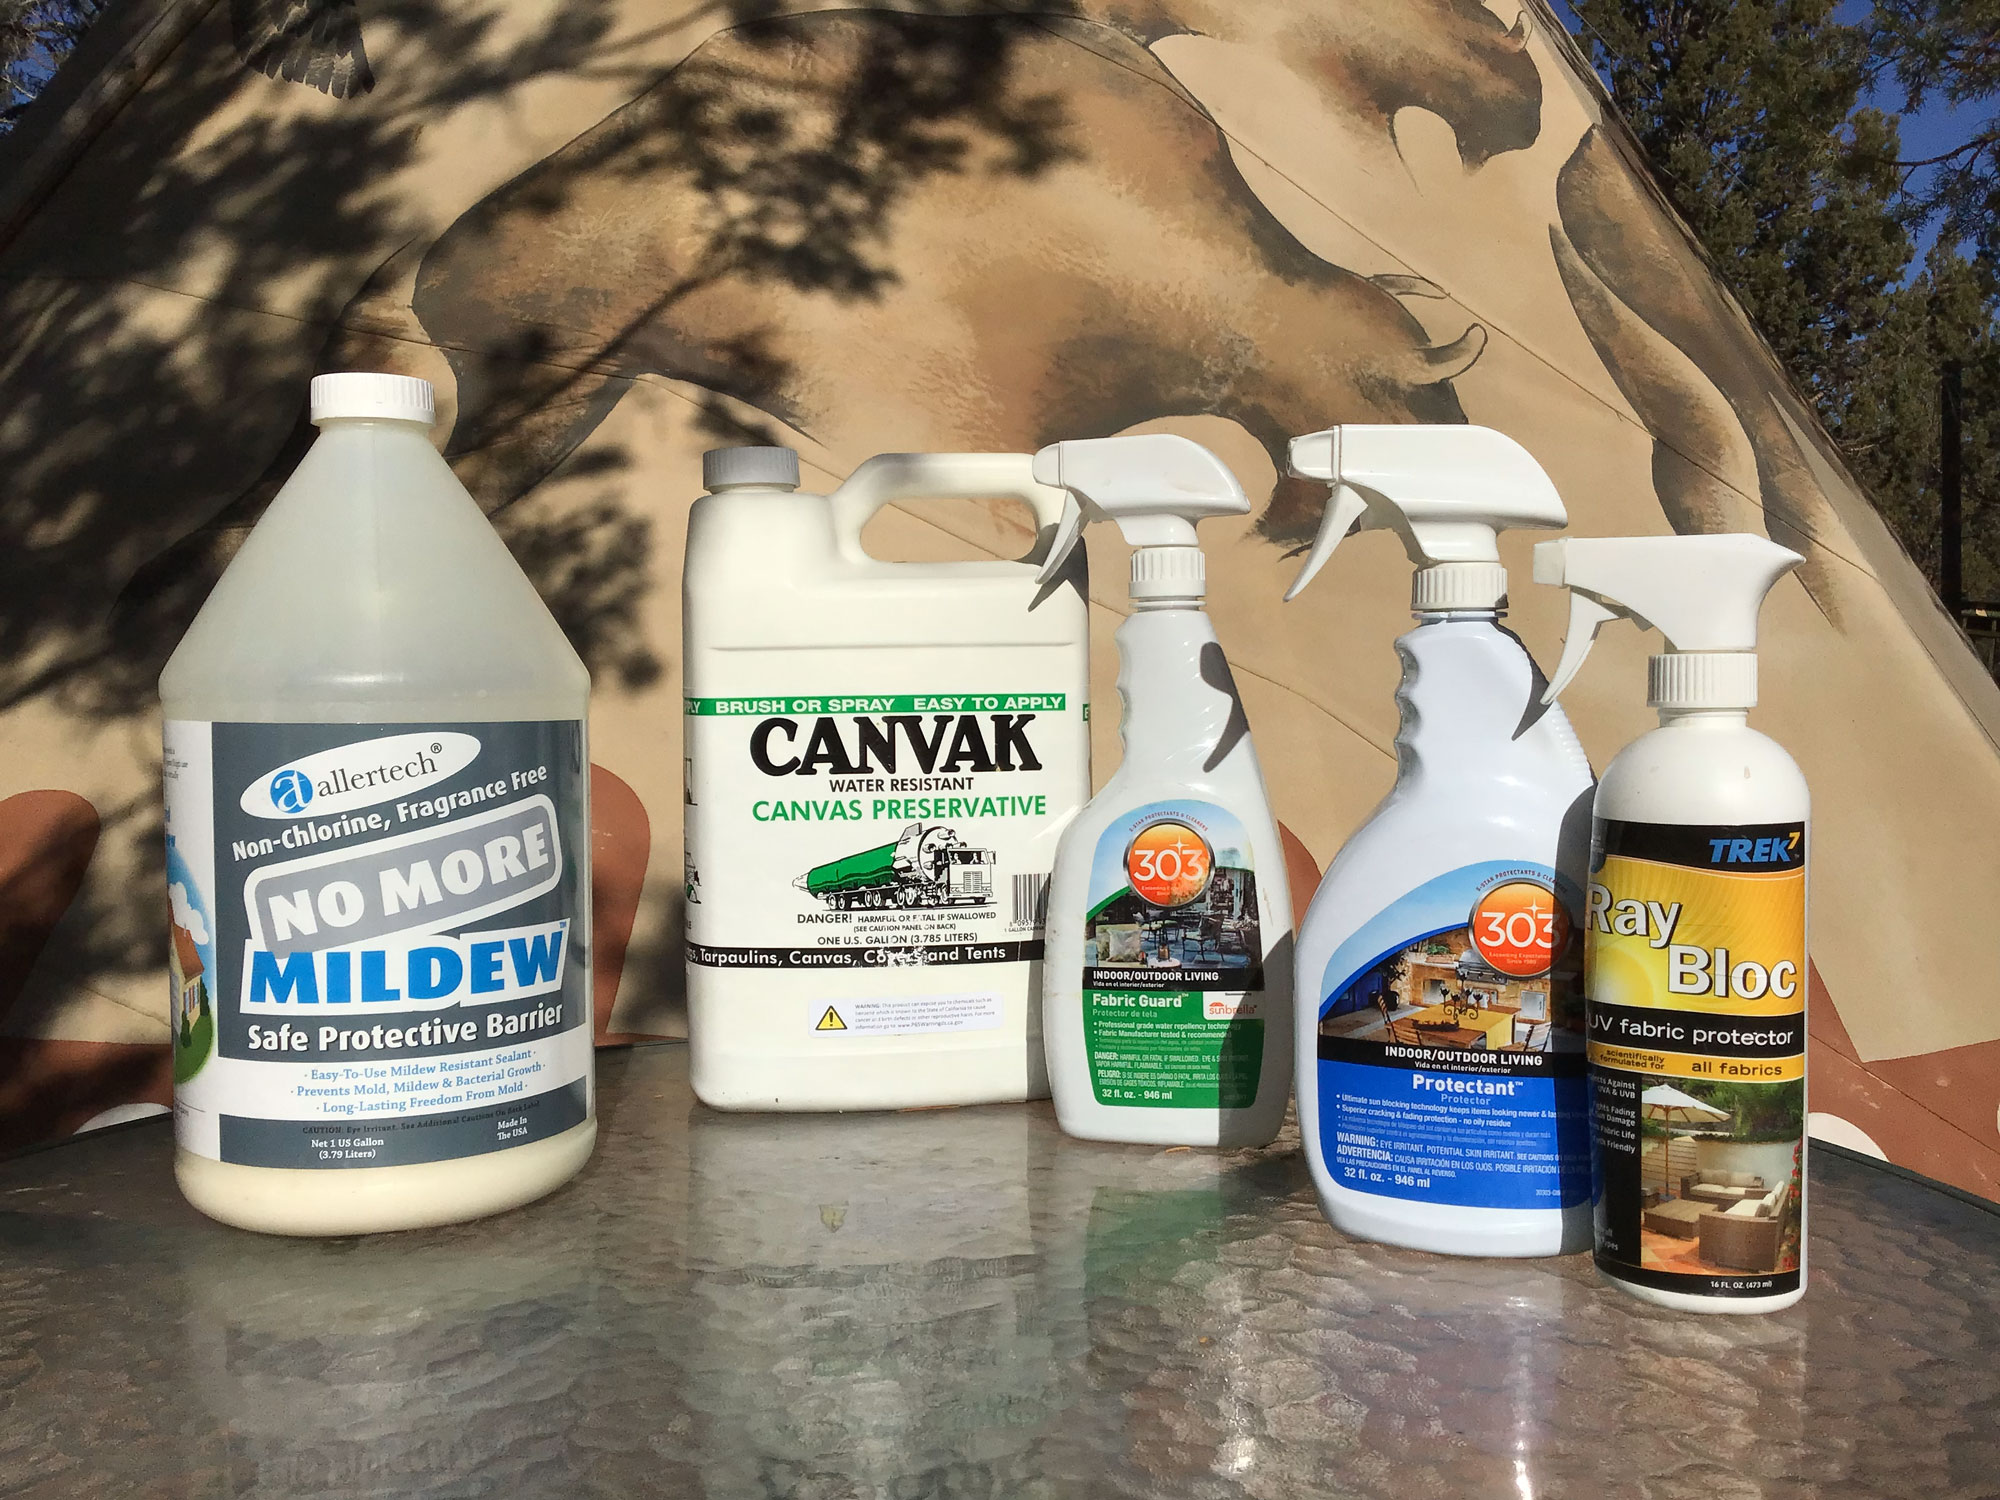
Locations above 3000 ft in elevation and places with a depleting ozone layer may have strong UV radiation that affects the tipi fabric. Your canvas could break down after 1-3 years, initially on the south side. If you are in high elevation, a shady location will help prevent the premature breakdown. If you cannot avoid ‘baking’ your tipi cover in the sun, we recommend that you treat your canvas once a year with a protective finish, such as Ray Bloc.
2) Wet and humid or hot and humid climates where mold is a known issue.
Mold and mildew can form on your fabric within only a few weeks despite the Sunforger® treatment on the canvas, since Sunforger® only protects against the most common mold spores known in the USA. If mold and mildew is a known issue in your area, we recommend that you apply an additional treatment to your canvas even before you set up your tipi for the first time. We recommend No More Mildew or CANVAK Canvas Preservative.
3) Prolonged rainfall/dampness without having a heat source or ventilation in the tipi.
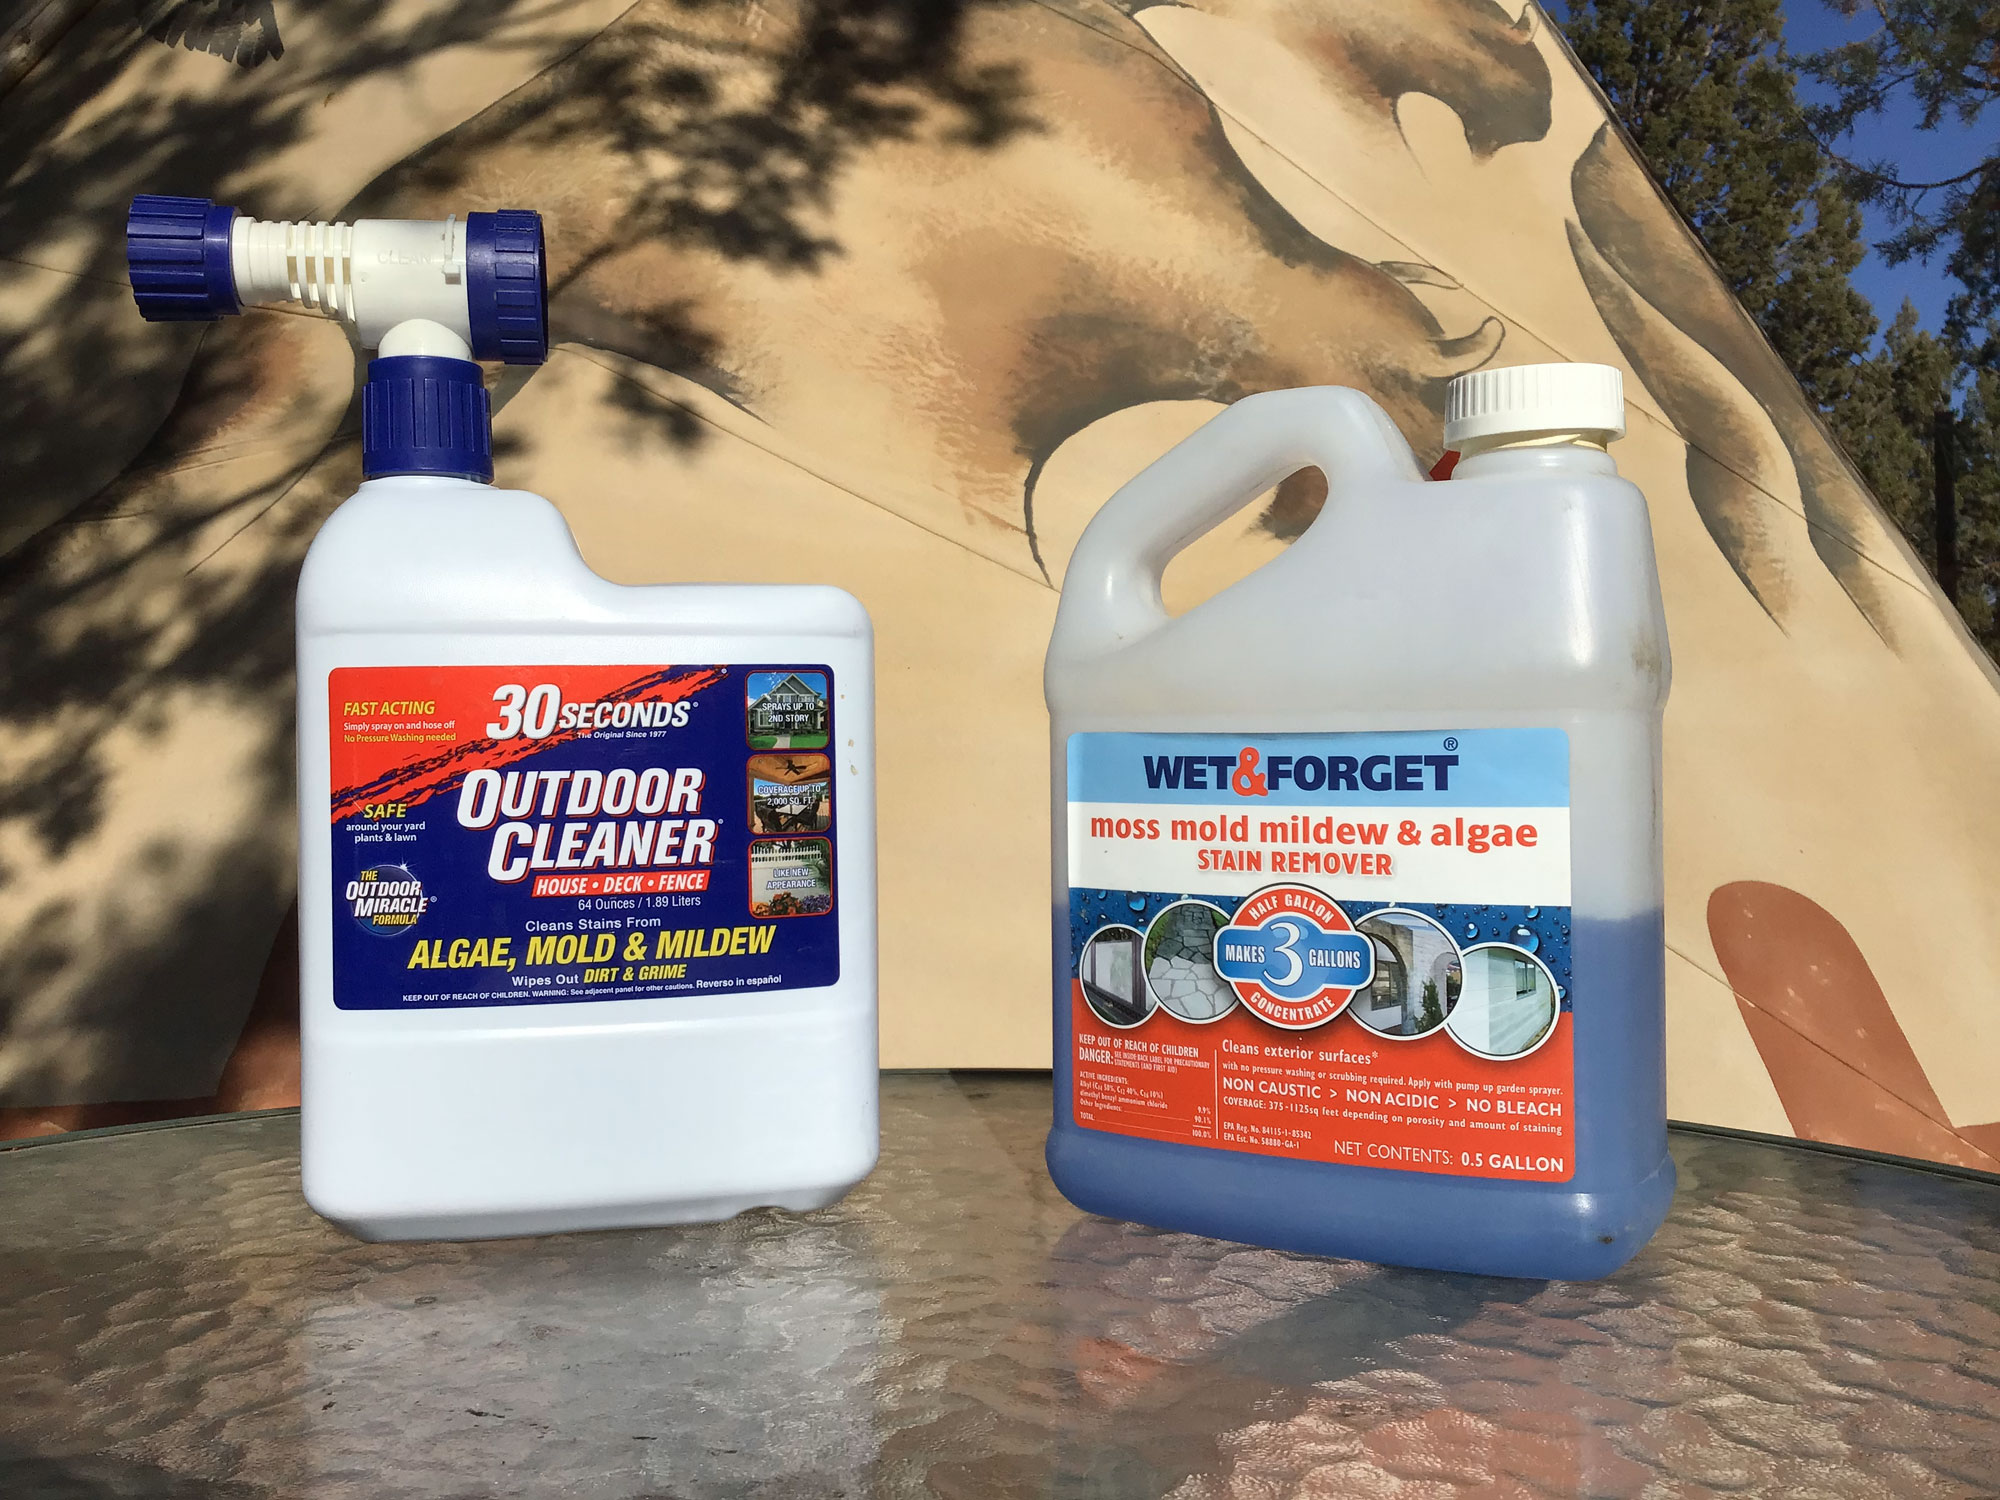
Mold and mildew can develop if the tipi cover does not have a chance to dry out. Use an electric heater in your tipi when you get rainfall over several days, or make a fire in it. A ventilator or fan also helps move the air around, so that mold and mildew spores do not settle on the inside of the canvas. Also, cut down wet grass around the bottom of your tipi and reset your cover to keep the 4” gap between the tipi cover and the ground. If mold develops, clean it immediately, with 30 Second Cleaner, Wet & Forget or cotton-safe laundry soap with hydrogen peroxide.
4) Snow pile-up on the canvas without having a heat source in the tipi.
After a heavy snowfall, brush off the snow, so the weight of it does not sag or stretch the canvas. Remove the snow around the bottom of the tipi in order to maintain the ventilation flow created by the cover-liner gap. If all snow is removed from the tipi, heat it from the inside to dry out the canvas.
5) Coastal locations with high humidity, salty air and high winds.
Treat your cover with a water repellent finish that will shed the water and salt off of your cover. We recommend Aqua-Tite. Stake your tipi down firmly to the ground, close the smoke flaps when you expect high winds and tie the cover rope to a stake in the ground inside the tipi.
CLEANING AND PROTECTING TEEPEE COVERS
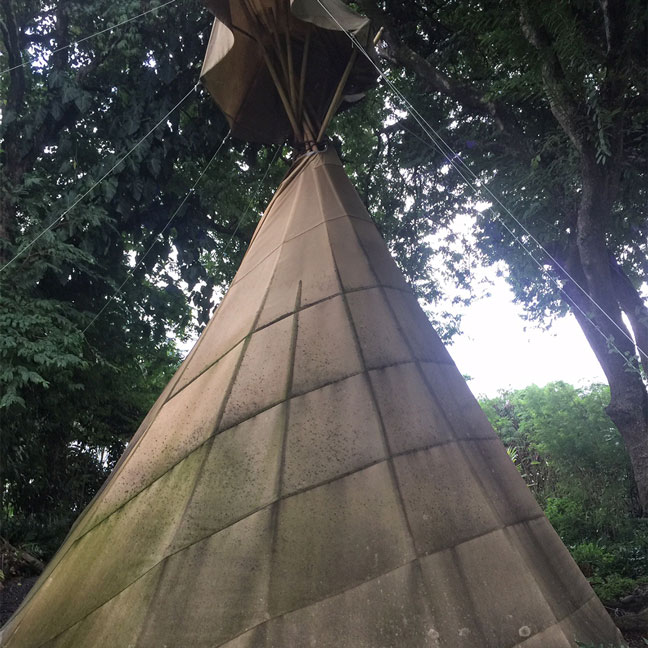
Due to the unpredictable nature of environmental influences, we cannot guarantee our fabrics against mold and mildew formation or breakdown due to excessive ultraviolet radiation. If your tipi gets moldy even in the first few years, such as this one in Hawaii, it will be your responsibility to clean it and renew the protective finish right away.
The size of your tipi determines the square feet of canvas you will need to treat:
12ft tipi = 250 sqft / 14ft = 325 sqft / 16ft =425 sqft / 18ft = 550 sqft / 20ft = 650 sqft / 22ft = 800 sqft / 24ft = 950 sqft / 26ft = 1100 sqft.
Be sure to read the instructions for each product and try them out on your door first. To clean a tipi that is set up already, you can apply the cleaning agent with a window washing sponge that has an extendable arm, and use a garden hose to wash it off. We do not recommend using pressure washers, as they can be harsh on the remaining treatment or compromise the integrity of the fabric and the seams. Once the canvas is cleaned and dried, use a portable pressure sprayer to renew the treatment. An A-frame ladder will help you to reach the upper parts, although treating the first 6ft at the bottom is the most important area.
A natural way to kill mold is applying distilled white vinegar with a pressure sprayer. If you wish to purchase products, the following products have been recommended by our customers. Suppliers are easily found on the internet by searching the company name and ‘product name’.
Cleaning and removing mold and mildew
30 Seconds ‘Outdoor Cleaner’ = Cleans and removes mold, mildew, dirt and algae
‘Wet and Forget’ – works best in wet climates = Removes moss, mold, mildew & algae
Allertech ‘All Purpose NAS-12’ = Mold and mildew stain remover without bleach
DO NOT use any bleach products, consider hydrogen peroxide instead.
Renewing fabric protection against mold
Allertech ‘No More Mildew’ = Protects against mold and mildew growth, water based
Seattle Fabrics ‘CANVAK’ = Restores water and mildew resistance, solvent based
Restoring water repellency
Trek7 ‘Aqua Armor for Patio & Awning’ = Restores water repellency, water based
Sailrite ‘303 Fabric Guard’ = Restores water and stain repellency
Sailrite ‘Aqua-Tite Green’ = Silicone water repellent and stain repellent, solvent based
Adding UV protection
Trek7 ‘Ray-Bloc’ = UV protectant
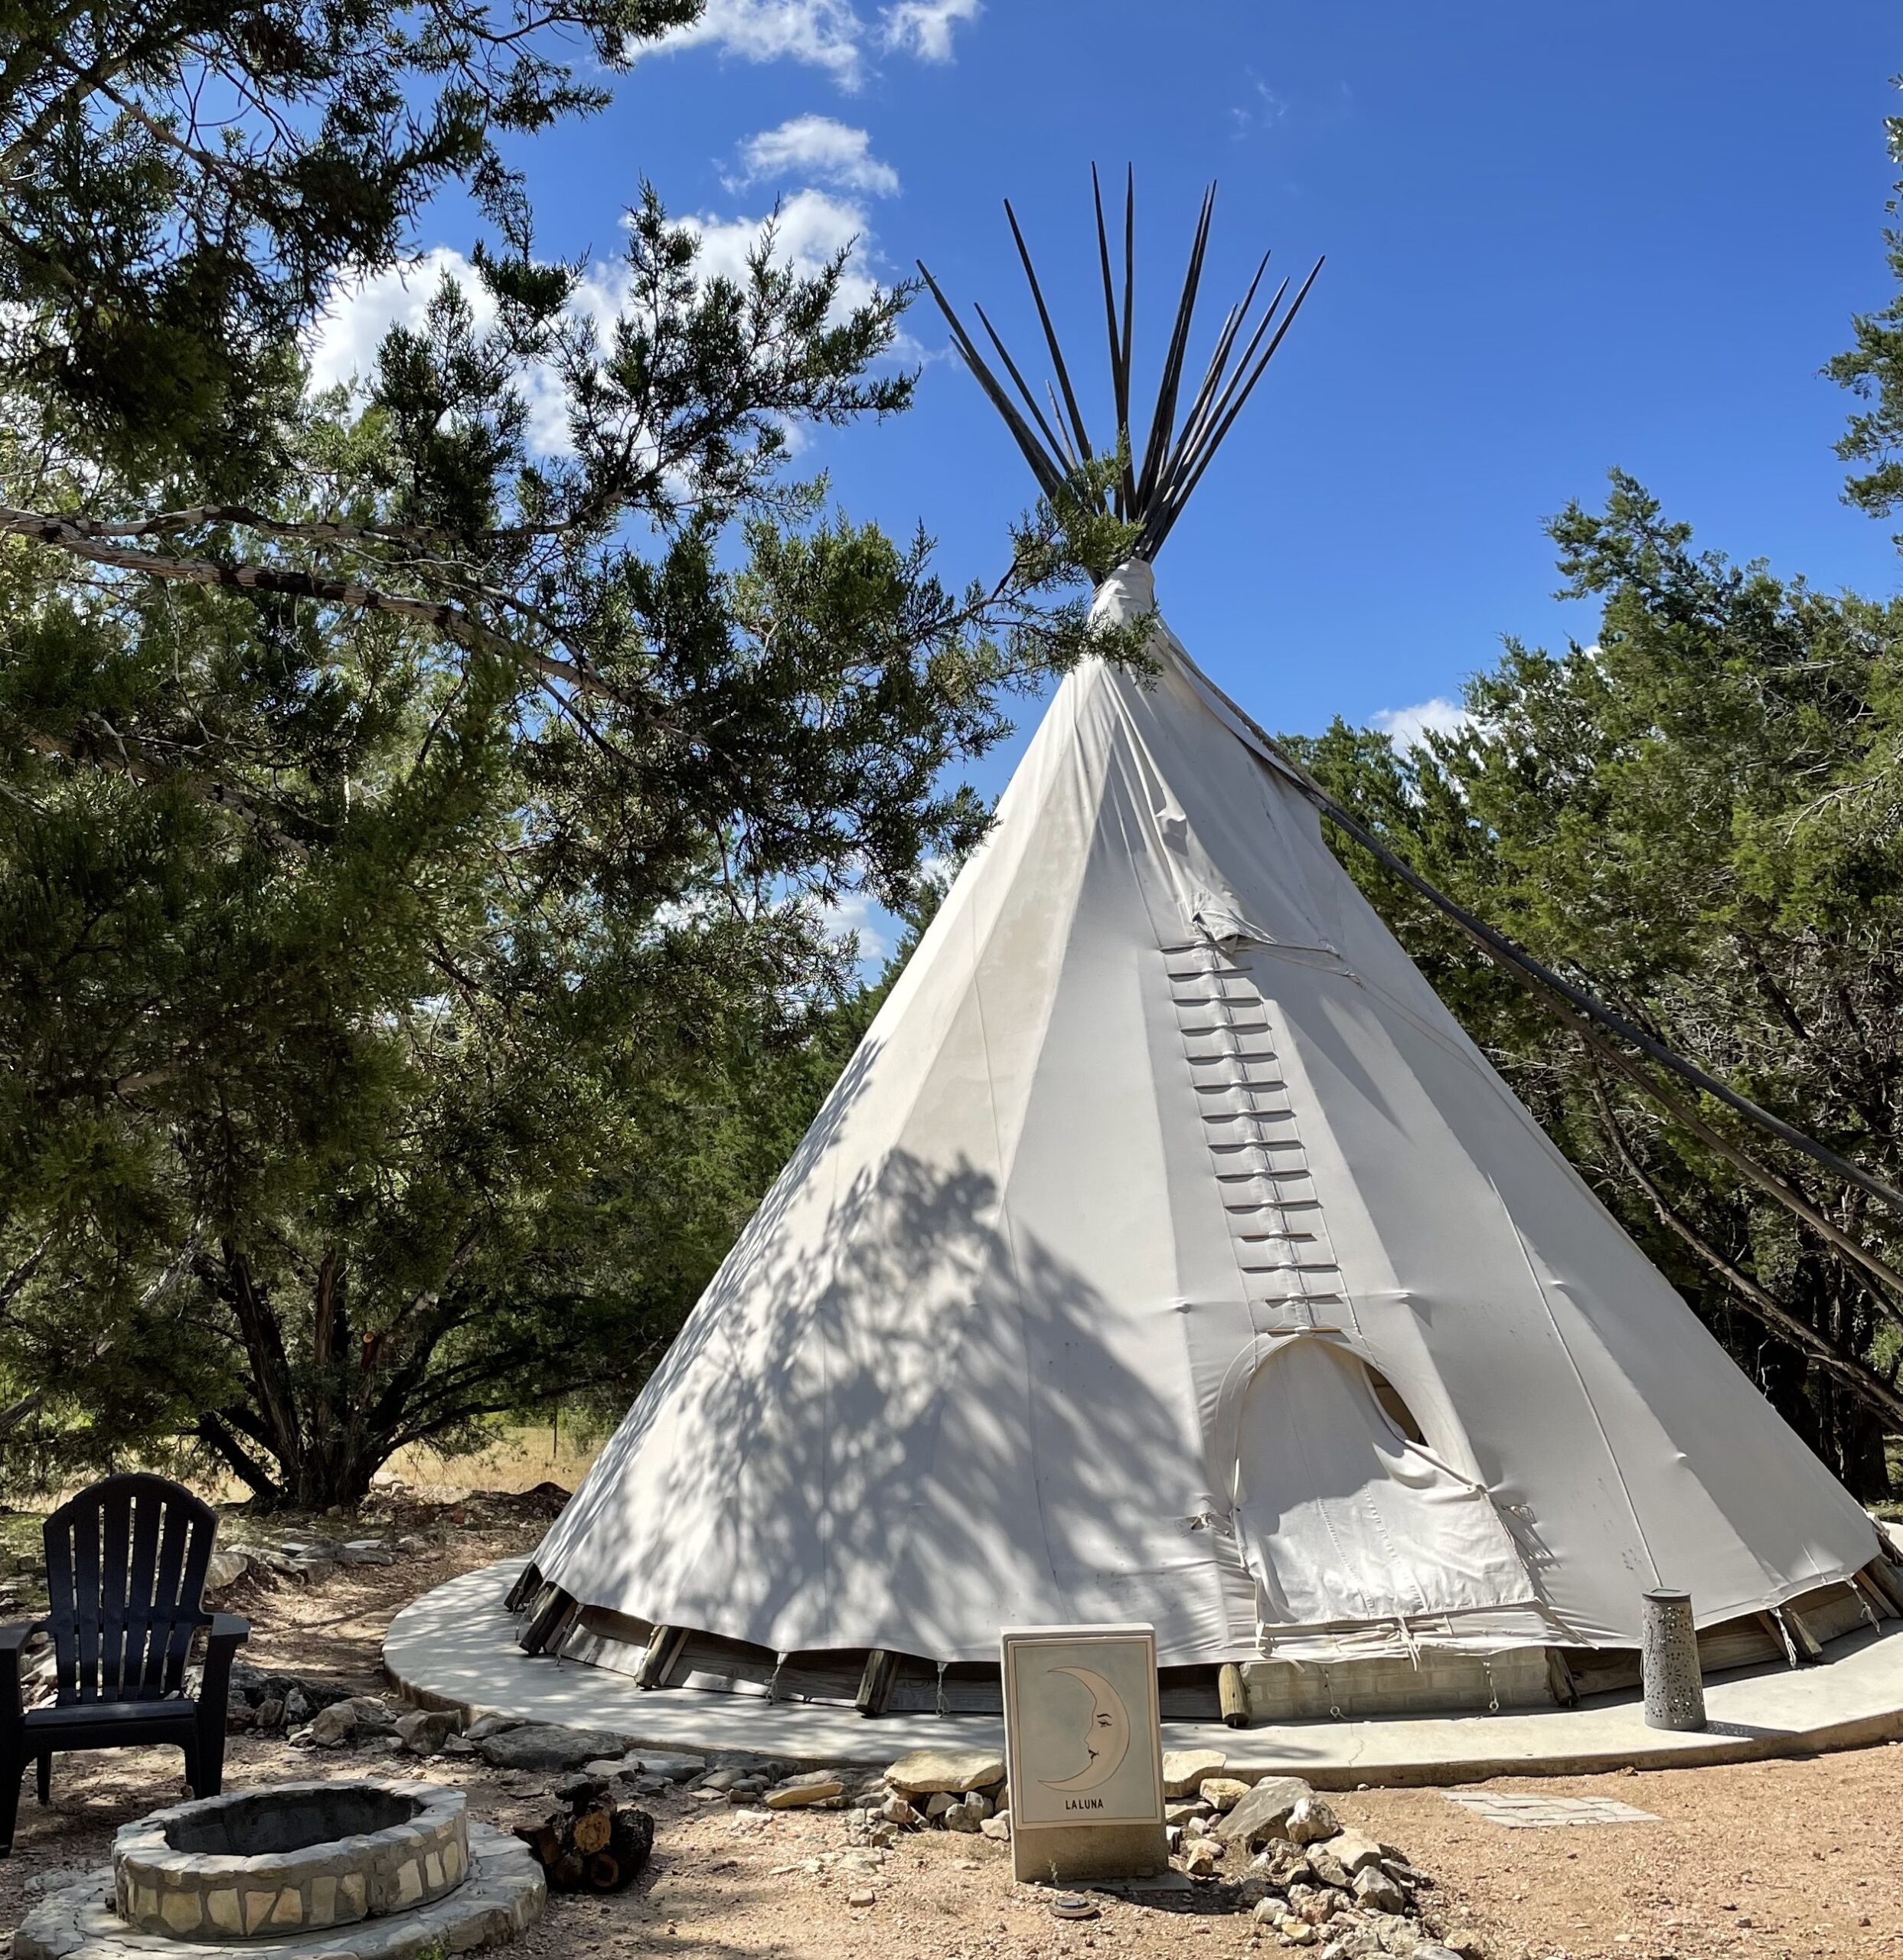
We have tried most of these products with varying results. Wet and Forget does not work well in our dry climate but many customers in wet climates are very happy with it. It needs consistent humidity or rainfall to work well. We have heard great reviews for the 30 Seconds cleaner, but not everyone had success, as the key to cleaning mold and mildew is to do it right away when the mold shows up. Here is a comment from a customer in Texas, who has 5 of our tipis for rent. Paola writes:
“Wanted to share some photos with Nicole of how our tipis here at Oeste look on year five after washing once a year. We used the 30 Seconds Outdoor Cleaner and it is the cleaner that has best worked for us. We dilute it to the specifications on the back of the product. The best part is the price for how well it works, you get 5 gallons for $46.99 on Ace Hardware (we ordered online). We are in Texas (central) so it hot and humid, not like west Texas, so mold is our biggest challenge. Hope this helps!” – Paola, 2021. www.stayoeste.com
To restore a good overall canvas protection in northern climates, we recommend Aqua Armor, for canvas protection at high elevation and in the southern states with lots of harmful UV rays, we recommend Ray Bloc. If you want to use both, then apply Ray Bloc first, let it dry completely, then use Aqua Armor (as per recommendation from Trek7). We do not know how the various products from different companies work together, but be aware that solvent based products might affect the flame resistant coating. Also keep in mind that each product has a specific curing time (4hrs-72hrs) and application has to be done without rainfall and within a specific temperature range, which could be challenging in the late fall.

